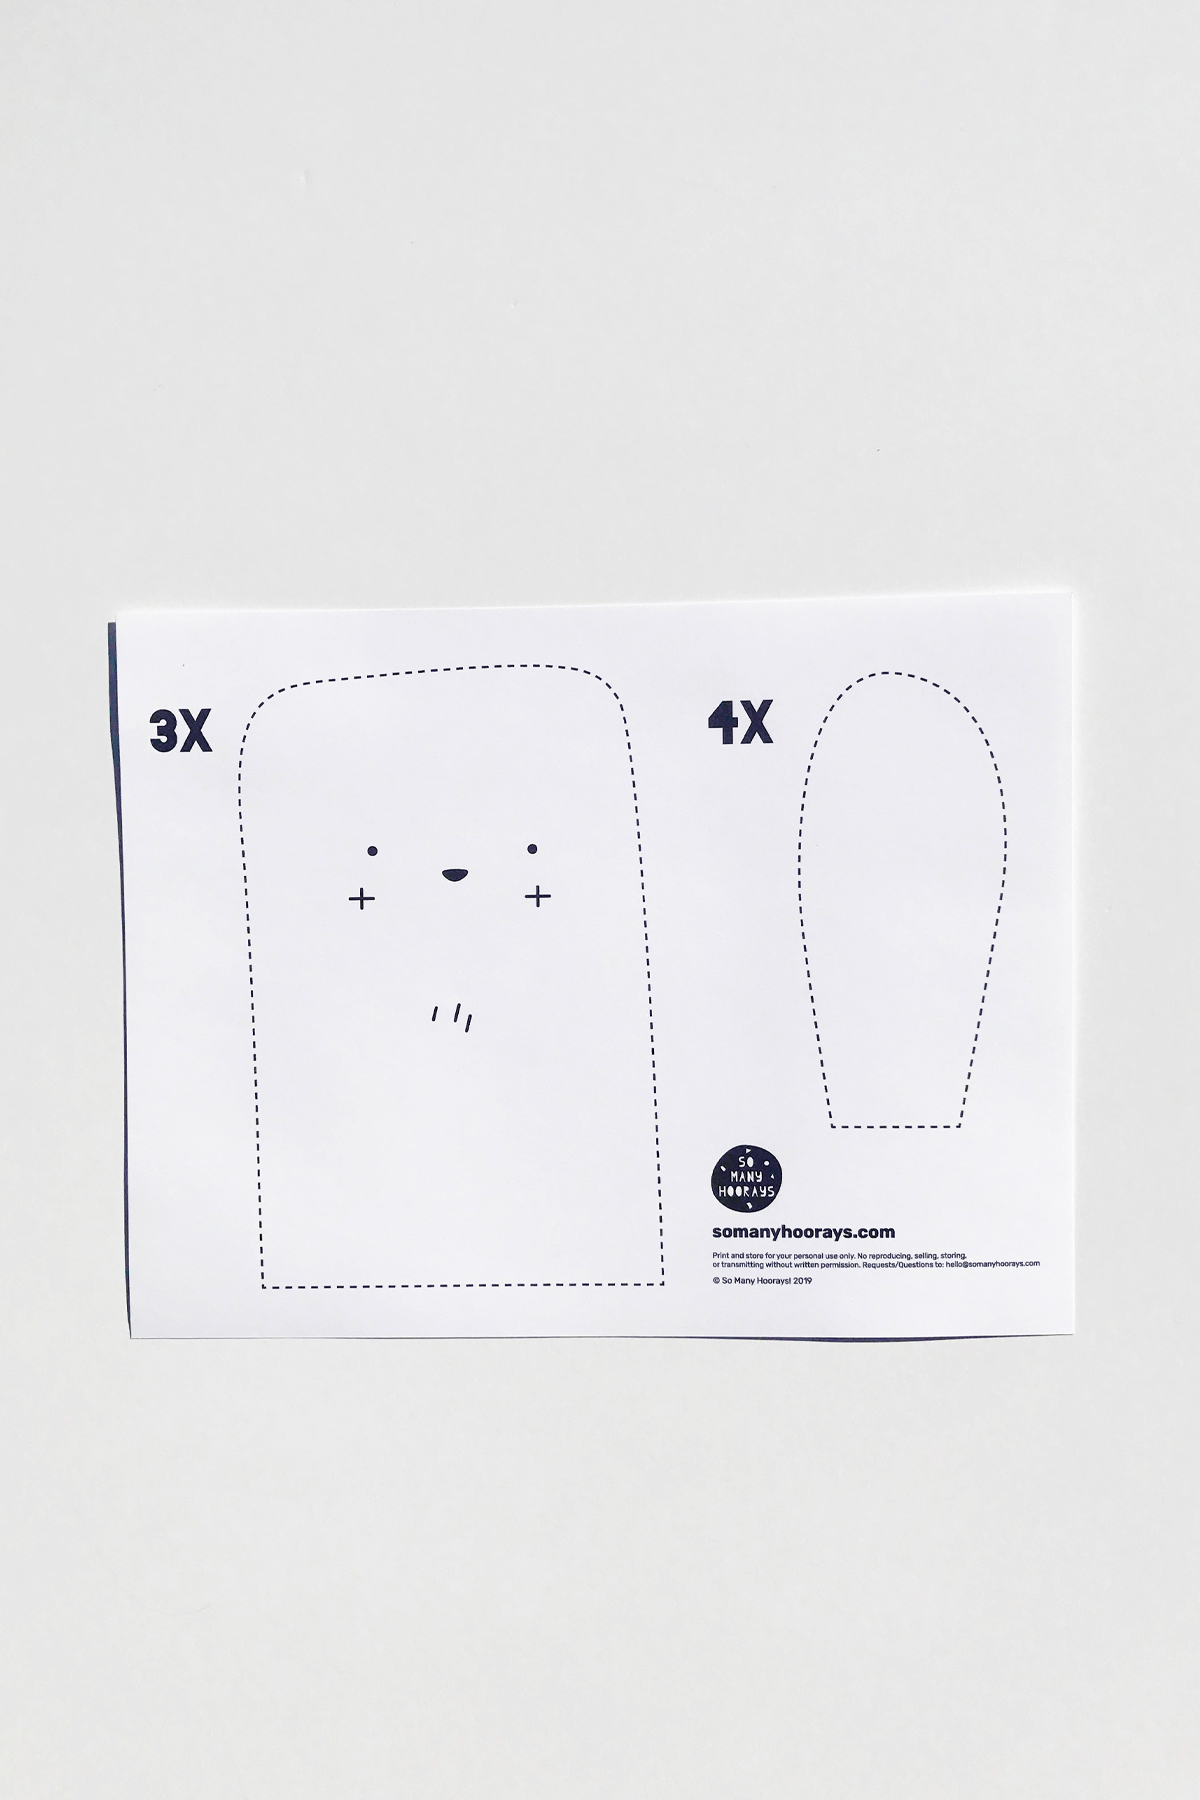
Free Printable: Simple Bunny Puppet Pattern
Project time: 1 Hour
Cost: Up to $10
Difficulty: Moderate
Materials: Free Bunny Puppet Pattern + Felt (2 tones) + Embroidery Thread + Sewing Machine + Sewing Pins + Scissors + Embroidery Needle
Finished product: Simple & sweet bunny puppet
Use ideas: Feature Point for a Clutter Free Easter Basket, Clutter Free Easter Toy, Imaginative Play Puppet
Note: I do have affiliate links throughout this post. The links provide me with a small percentage of commission, but do not cost you anything extra.
This little guy is a part of my kiddos clutter free Easter basket this year. It’s her “one new toy” and I’m so happy with how it turned out! I can’t wait to see her find him easter morning.
It does involve some sewing, but it was overall super simple to make! Here’s the steps:
1) Download and print the free bunny puppet pattern.
2) Cut out your body base (x3) and ears (x4) from your fabric. You need to cut three pieces for the body: one for the front, one for the back and one for the inside front liner to cover the embroidery ends. You will need four for the ears. I used a light cream felt for the three body pieces, and made two tone ears of the light cream and a light tan felt.
3) Add your details with embroidery thread. I made a simple face, a strip down the middle of his ears, and some fur on his belly. I used two colors of thread total - pink for the cheeks and ears, and black for the rest. I was helpful to hold the pattern over the material and poke placement points in the felt to get the spacing right!
4) Sew the bottom hem for the front + liner and the back. Don’t sew the right and left edges together yet, but sew a single hem with the liner on the front piece so it’s a nice clean cover over the knots and back of the embroidery face. If you add any details to the back it might be a good idea to line that as well so no little fingers are getting snagged on embroidery thread!
5) Sew your ears together, and right side out the material. You can use a simple sewing trick to keep your rounded edges from bunching - before you turn it right side out, make small slits from the edge of the material towards the seam. (Be careful not to slit the seam. Been there done that WAY to many times!) It creates a smoother edge every time.
6) After your ears are right side out, you can either attach them to the body flat edge to flat edge, or add a small fold in the ear like I did. To do the fold, and give it that ‘ear’ shape, pinch the bottom of the ear together, almost folding it in half vertically, and sew an inch seam right up the side. Not the whole ear, just a small seam at the bottom. (See images below for more explanation!)
7) Attach the ears to the body, facing down. The details side of the face/body should be facing the details side/front of the ears. Sew a seam across the top, securing them to the body.
8) Sew the two pieces of the body together. The pieces you should have now are the combined front/liner/ears piece, and the single back piece.
Be sure to keep the ears pointing down, and inside the main edges seam. Also be sure to sew using a deep enough margin on the top to cover the first seam from the ears being attached. Trim off excess thread, and right side out your amazing puppet!
Notes:
- Remember, you’re not going for perfection - you’re going for the joy of making a craft, and sparking the imagination of a little one! My puppet was pretty crooked in the end, and my hems didn’t match up But hey, that’s part of the unique fun of handmade!
- If you’re looking for a starter kit for embroidery thread, this one is pretty awesome! (And don’t forget your embroidery needle.)
- As always, if you try this project I'd love to see your result! Please share a pic and tag us on instagram, @somanyhoorays #naileditsomanyhoorays or on the So Many Hoorays facebook page


